- In your Buildpeer account, go to the project overview and select the project you want to enter.
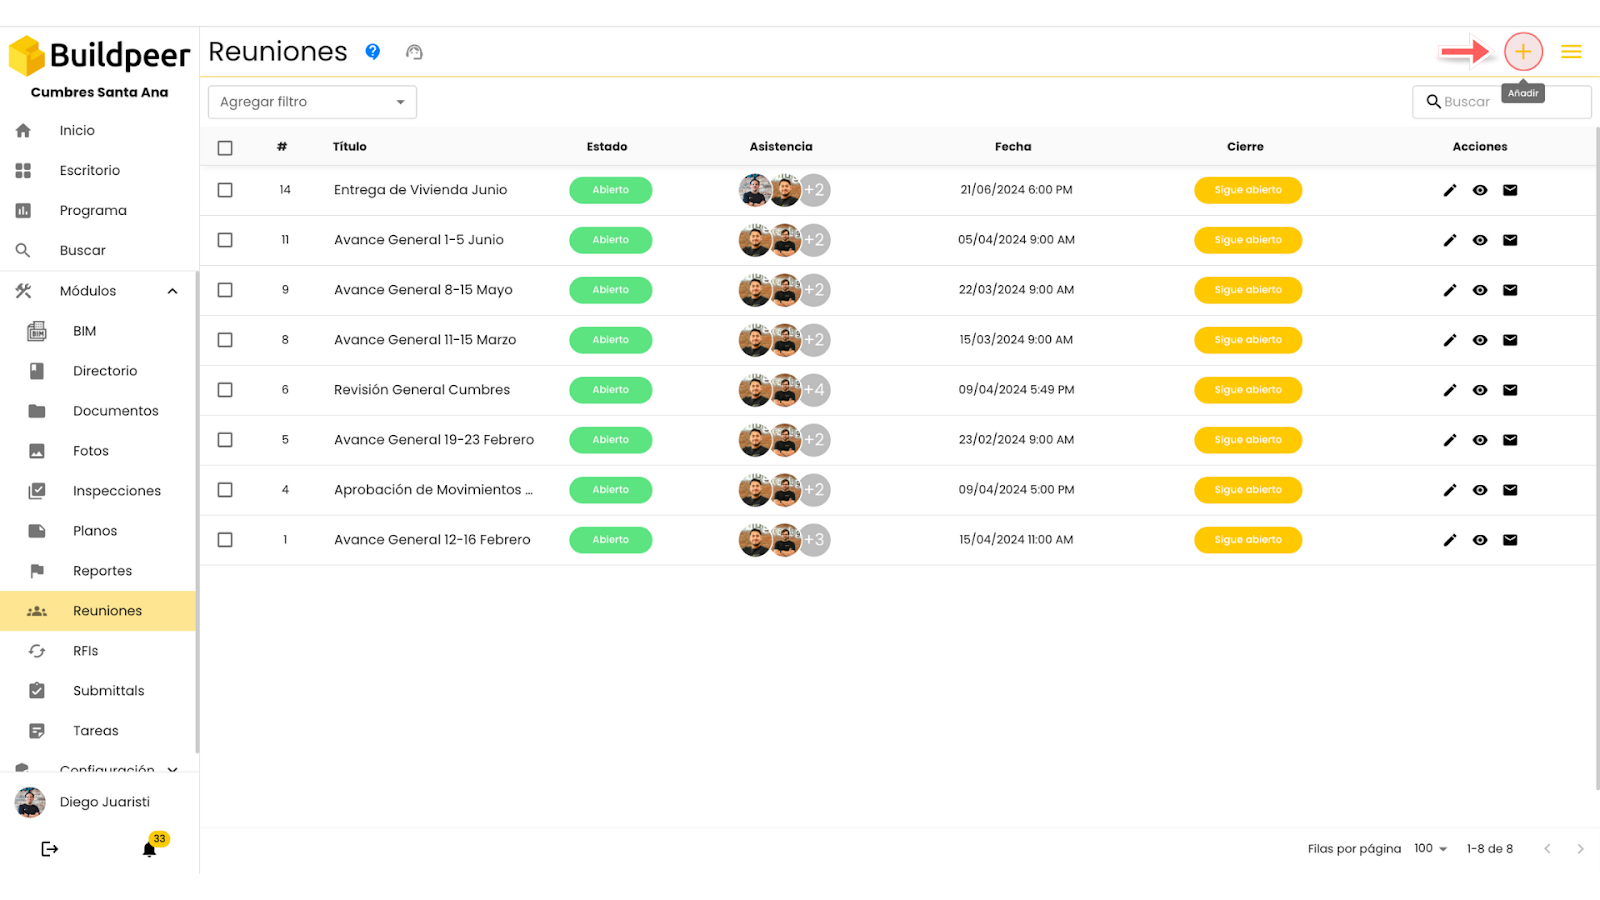
- In the left sidebar, click on the section 'Modules', and then click on the module 'Meetings'.
- To begin the process, click on the ➕ Add which is located in the upper right corner of the screen.
- You can now view the form to create a new meeting. On this card you will find the fields you must complete.

Here's how to fill them out to schedule the meeting properly:
- Title: fill in this field with the name of the meeting you want to schedule.
- Date of delivery: fill in this field with the date the meeting will take place.
- Attendance: choose the name of those people who will meet at the meeting.
- Time: select the time at which the meeting will take place.
- Privacy: in this field you can define who will have access to the meeting. If you enable the privacy option, only selected users will be able to view it.
- Location: in this field you define where the meeting will take place.
- Meeting URL: enter the video conference link if the meeting will be held virtually.
- State: you can choose between two options: Open or Draft. The 'Open' option is so that once the meeting is published, assignees can immediately see the created meeting. The 'Draft' option is chosen when creating a meeting has not been completed, so the user can return to finish detailing the meeting before officially publishing it, and change the status to 'Open'. When a meeting is in 'Draft', only the creator user can view that meeting.
- Distribution list: select the users that will be part of the distribution list. These users will be able to view the meeting, but they will not be able to interact with it. This field is useful for keeping those who are not called to the meeting informed.
✏️ Required fields for creating a meeting:
- Title
- Date
- Time
- Assistance
- At least one agenda item
- After filling in the fields to create the meeting, click ➕ New Agenda Item.

- You can now view the fields to add a new item to the meeting agenda. This feature allows you to organize and structure the topics that will be addressed during the meeting.
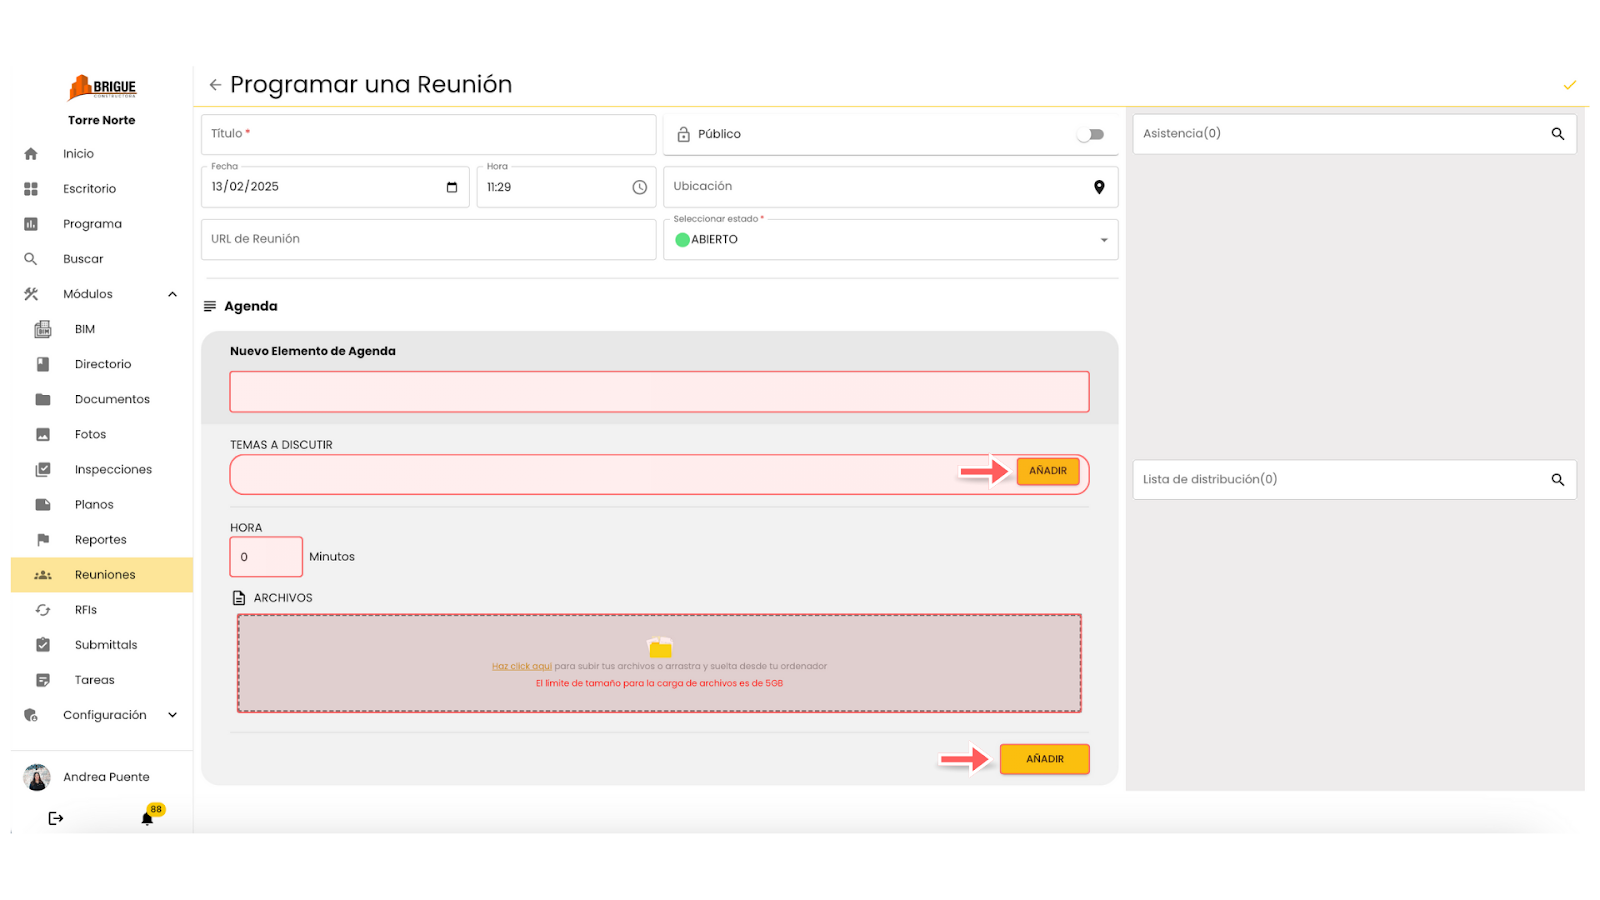
Below, we explain each of them to you so that you can complete them properly:
- Title: type the name of the title of the new agenda item.
- Topics to discuss: Click on the button ➕ Add to add new topics to discuss. Write a brief description of each topic to be discussed. You can add as many topics as needed.
- Time: Add the estimated time to deal with the list of topics in that group of agenda items.
- Archives: in this space you can add documents or files that are relevant to carrying out the meeting.
To finish, click on the button 'Add' in the lower right corner to save the agenda items.
- Repeat the above process as many times as necessary to add more items to your meeting agenda. Once you have completed your agenda and filled in all the meeting details, click on the button ✅Create in the upper right corner of the screen.

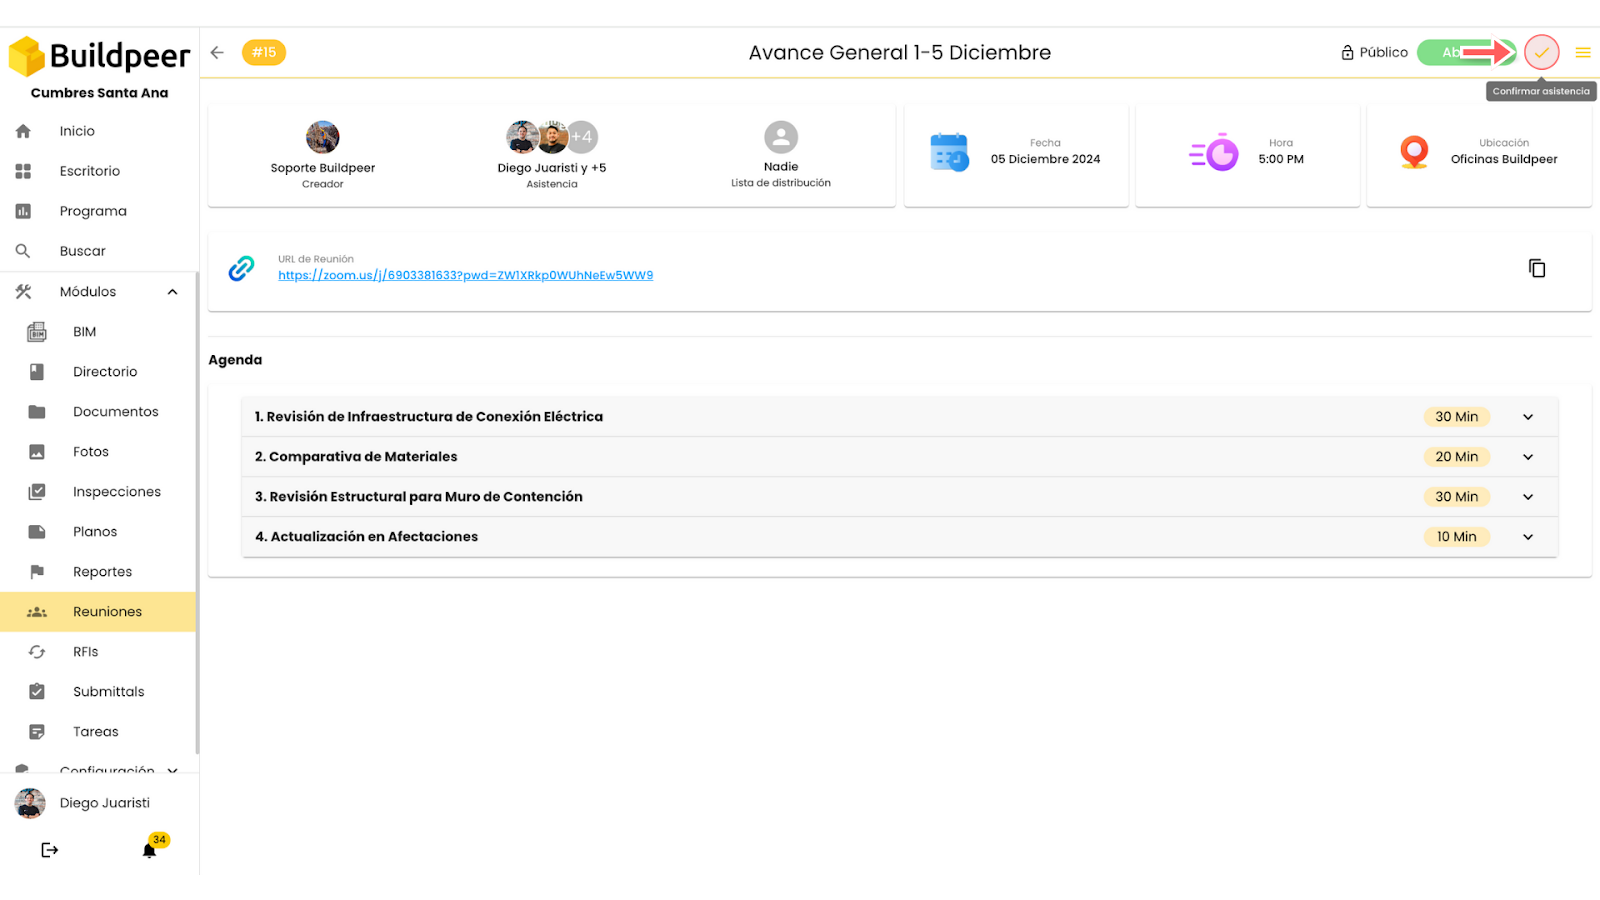
- Your meeting is now ready to be viewed and will appear on the main screen of the module.
📌 Note: Remind attendees to confirm their participation in the meeting by clicking the button 'Confirm Attendance', located in the upper right corner of the meeting overview.