


If you're a super administrator on Buildpeer, you can create new users and customize their permissions.
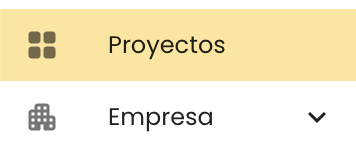
- In your Buildpeer account, go to the project overview and click on the 'menuCompany', which you'll find just below the' Projects' section.
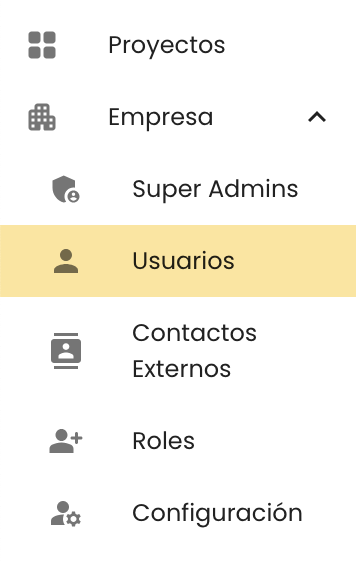
- In the left sidebar, click 'Users'.
- At the top right, click on the icon of + Add.
- Fill in the information in the 'Create user'. Look at the form fields and their explanation.
- Finish by clicking ✓ Create.
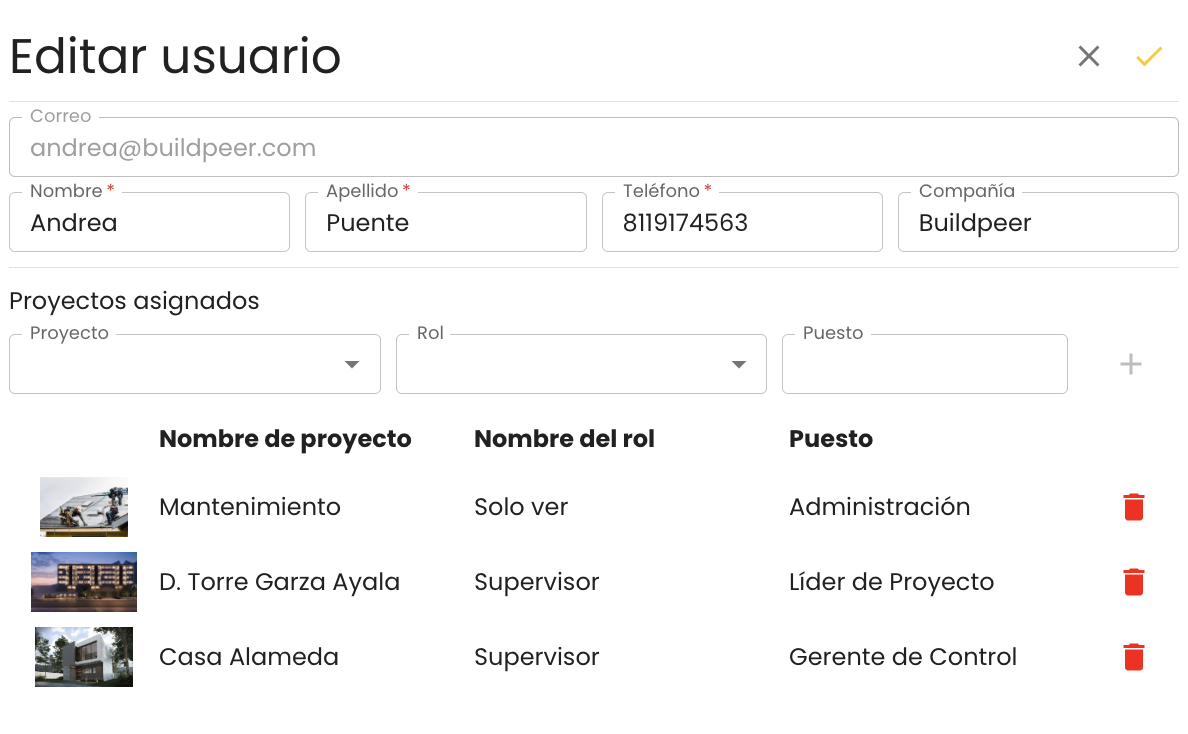
📝 'Create User' form
Email: fill in this field with the email address that will be associated with the new user's account and that you will use to log in.
Name: enter the name of the user, this information will also be used to update the directory for each project.
Last name: enter the last name of the user, this information will also be used to update the directory for each project.
Telephone: enter the user's phone number. This will allow the contact to be available in the directory, making it easier to access it when someone needs to communicate quickly.
Company: fill in this field with the name of the company to which the user belongs. You can add your own company or, if you want to register external users, you can easily differentiate them by the companies to which they belong.
Super Admin: check this box if you want to grant the user the highest range of permissions within the platform. The user will have the ability to register new users, create projects, as well as edit, delete or restore elements in all available modules.
Project: select the project that the user will have access to. Each user can be assigned to several projects simultaneously.
Role: select the role with which the user will participate in each project.
📌 Note: the roles define the permissions that each user will have and are fully customizable. You can create and manage them from the “Roles” section at the company level. Learn more about managing roles.
Position: enter the position that the user holds in the company. This field is only informative for the project directory and does not affect the permissions that the user will have within the platform.

