- In your Buildpeer account, go to the project overview and select the project you want to enter.
- In the left sidebar, click on the section 'Modules', and then click on the module 'Reports'.
- At the top right, click on the ➕ iconCreate report.

- You will now be able to view the fields needed to configure and create your report.

Below, we explain each of them to you so that you can complete them properly:
1. Title: Enter a short, descriptive name to easily identify the report.
2. Date of delivery: Set the deadline for completing the report, ensuring that it is completed on time.
3. State: Define if the report will be in Eraser O Open. Select Eraser if you need to make adjustments before publishing it, or Open if the report is ready for assignees to start working on it.
4. Privacy: Decide if the report will be visible only to you (private) or if it will be available to the entire team (Audience).
5. Category: Select the category that best matches the content of the report. This will allow you to easily organize and filter your reports in the future.
📌 Note: The fields available for structuring the report will change depending on the report category you select. Explore more details about each type of report and its characteristics.
6. Creators: Your name will automatically appear as the creator of the report, but you can add other users to participate in its configuration.
7. Assigned: Designate those responsible for completing the report. These people will be responsible for carrying out the necessary actions.
8. Distribution list: It includes users who must be informed of the report, even if they are not directly involved in its execution.
- After completing the general fields, it's time to fill in the specific fields that are enabled depending on the selected reporting category. Let's continue the process by choosing the report category 'Basic'.
- Select the location you are reporting on. You can choose a location previously registered in the project or add a new one if it's not available in the list.
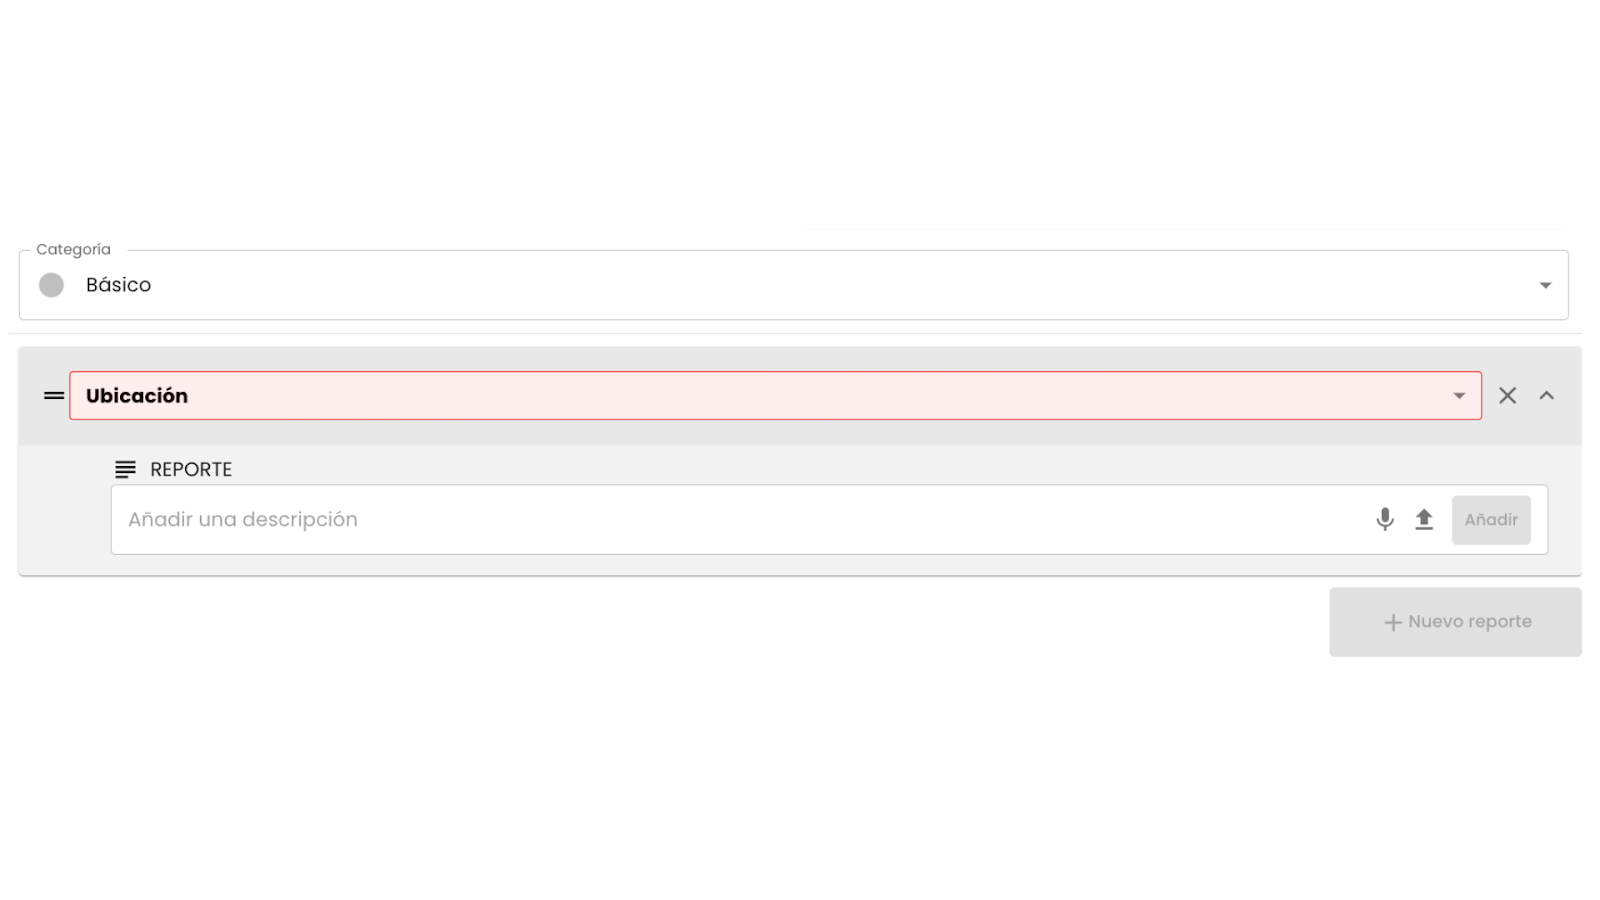
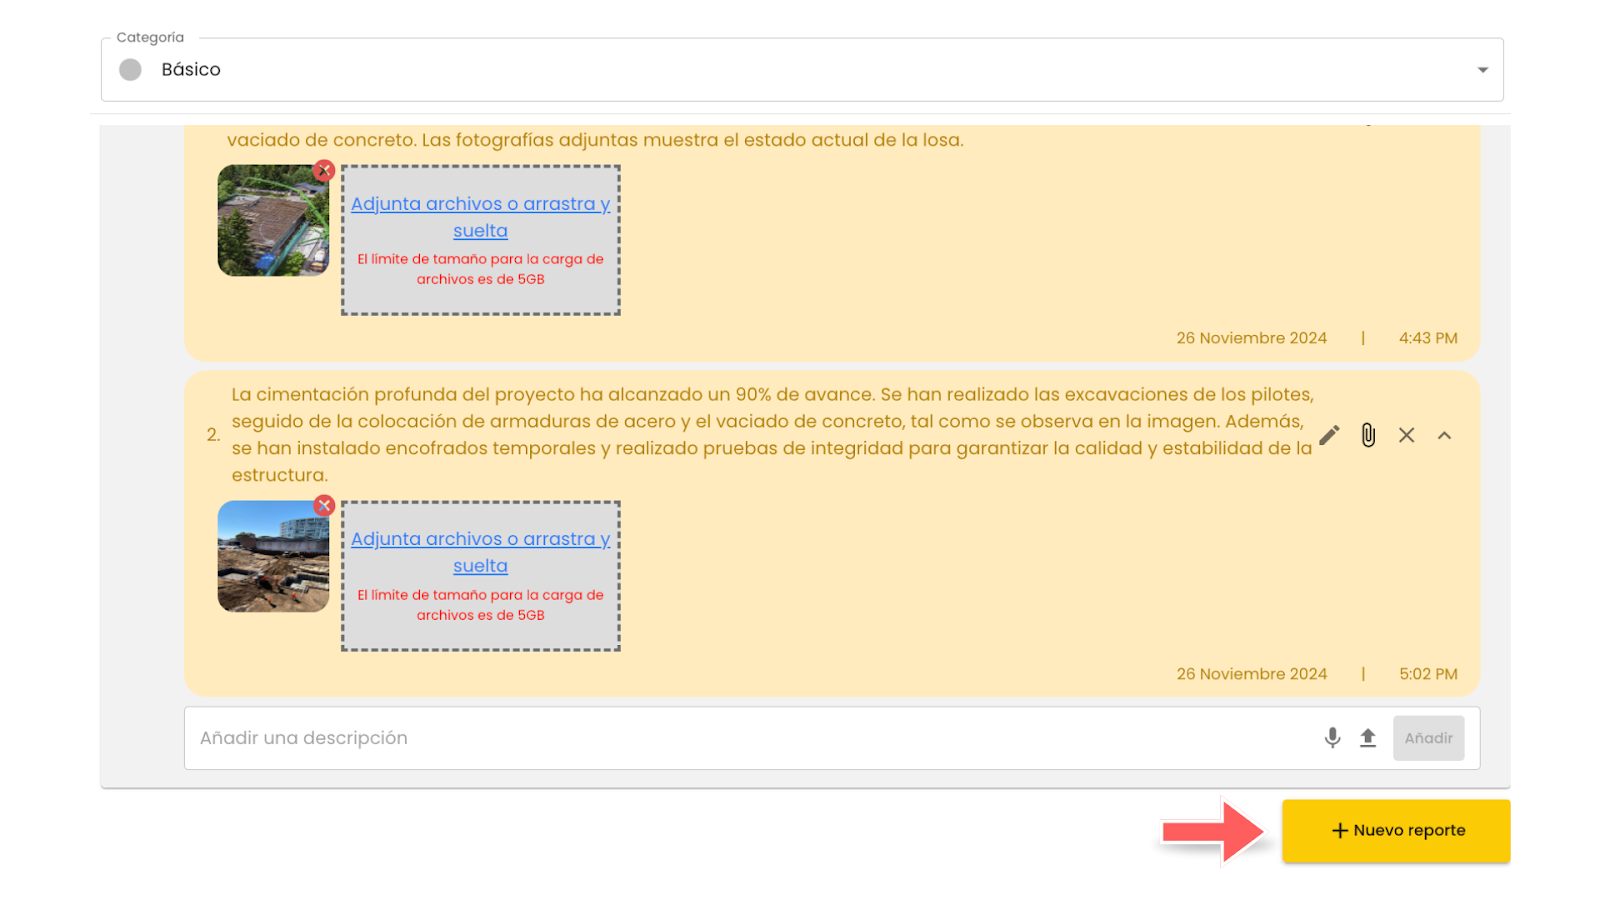
- It then provides a detailed description of the report. If you consider it necessary, you can attach files such as images, documents or plans to supplement the information. Once ready, click 'Add'. Keep in mind that you can add multiple descriptions linked to the same location.

- If you need to include another report related to a different location, click ➕ New report and follow the process again to add descriptions. Everything will be integrated into the same report in Buildpeer, making it easier to organize and monitor it.
- To finish, click on the ✅ button Create which is located at the top right of the screen.
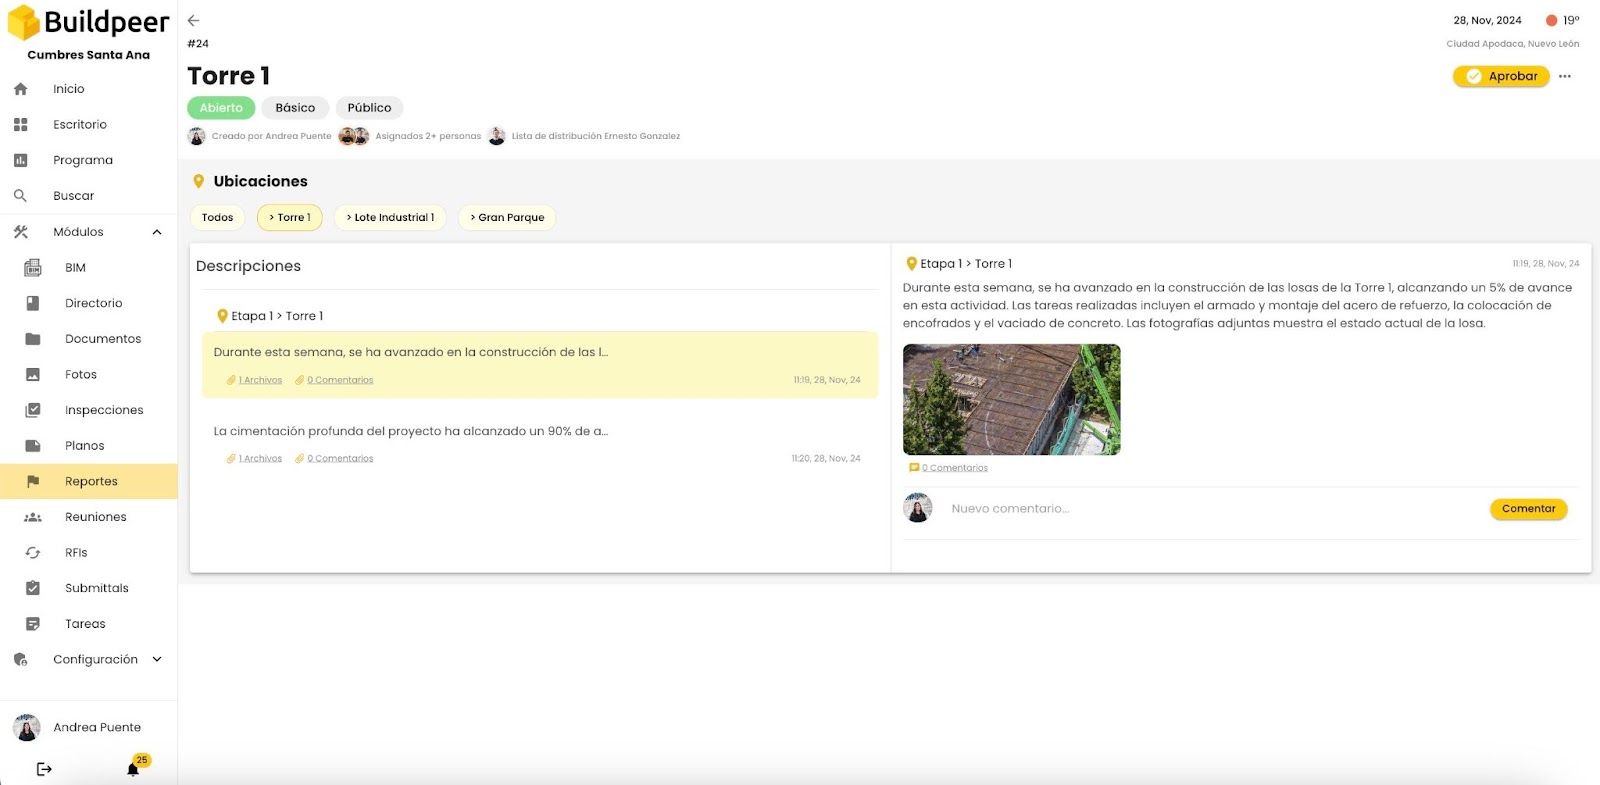
- To review your report, return to the module's main screen and click on the name of the report you want to open. From there, you can access all the details, view the content organized by locations, add relevant comments and, if necessary, approve the report directly from the platform.