


- In your Buildpeer account, go to the project overview and select the project you want to enter.
- In the left sidebar, click on the section 'Modules', and then click on the module 'Reports'.
When you enter the reporting module, you'll notice that Buildpeer offers five different types of reports, each designed to meet specific needs. Below, we explain the functionality of each type, so you can choose the one that best suits your needs:📄 Basic: This report is the most flexible and versatile, ideal for recording any relevant information without specific restrictions.📈 Work progress: Designed to document and monitor the progress of construction activities, helping to evaluate compliance with established objectives.⚠️ Problem: Useful for reporting incidents, inconveniences or deviations that need immediate attention or corrective action.⏰ Delay: Focused on recording and analyzing the reasons behind delays in activities or in the general schedule, allowing corrective action to be taken.⚡ Workforce: This report is used to document the number of available personnel, their activities and resources, facilitating the control of the equipment on site.
- When you start creating a new report, you'll need to select the category that best suits your needs. The choice of the category will determine the fields that will be enabled to structure your report, allowing you to capture the most relevant and specific information for each case. If you need more details about the process, check out the guide on How to create a report.
Below, we explain the fields available for each category and how to use them effectively. Basic
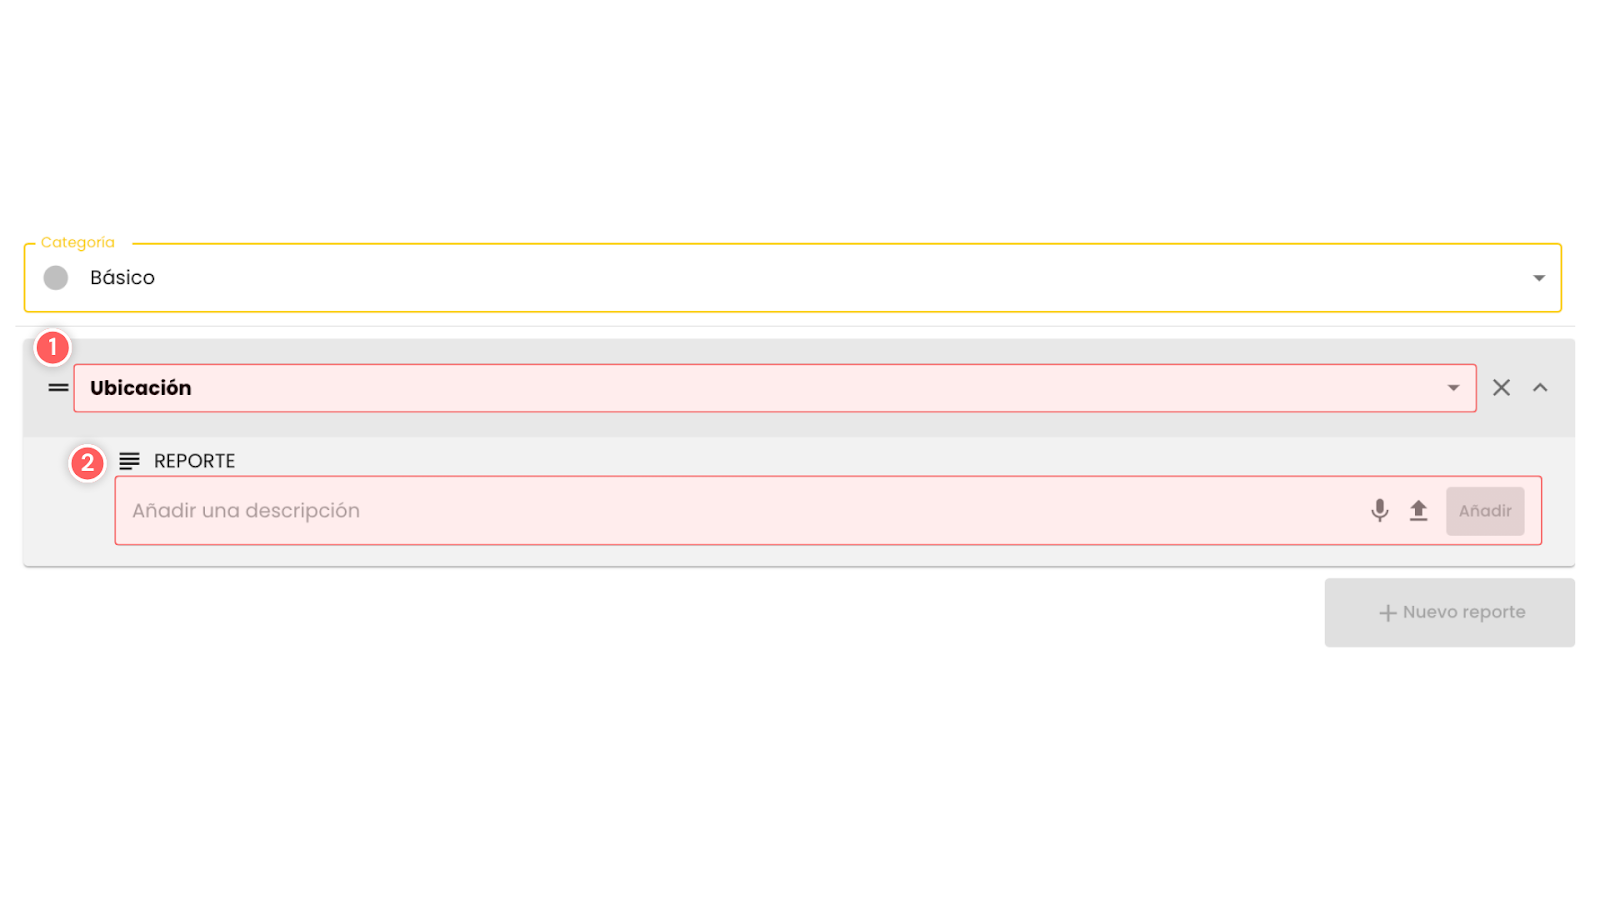
- Location: Select the location you are reporting on. You can choose an existing location or add a new one.
- Description: Provide a detailed description of the report. You can add files, videos, photos, or voice notes to supplement the information.
-
Work Progress
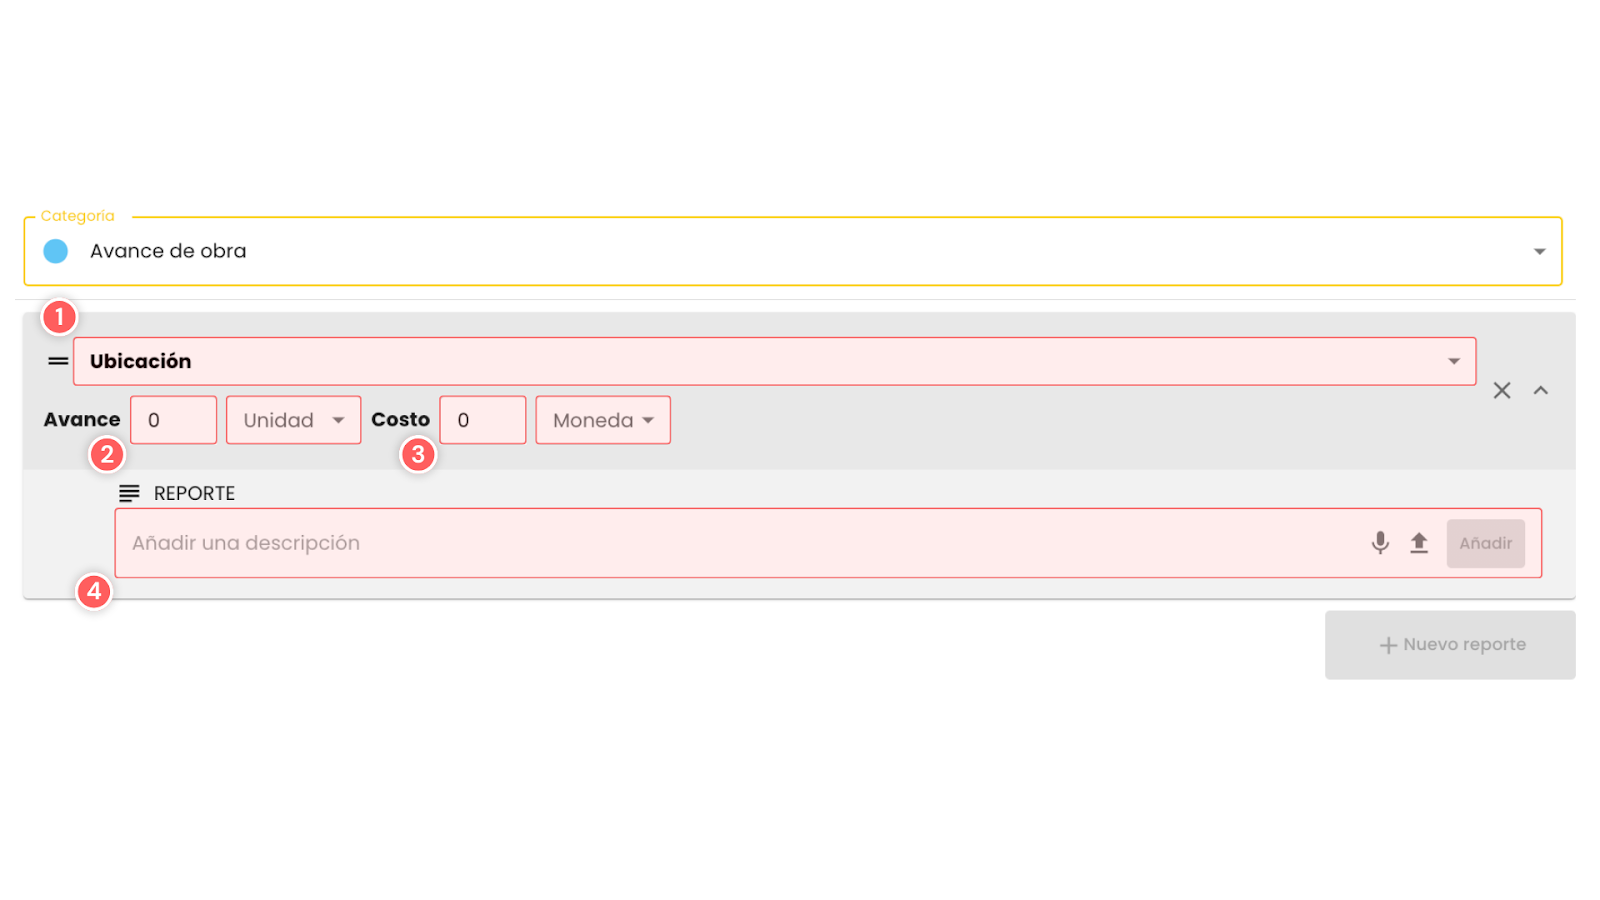
- Location: Indicate the specific location to which the progress report refers.
- Advance: Record the progress achieved in the activity or project. You can use the unit you prefer to indicate progress, either in percentage, m2, m3, or any other measure that is relevant to the report.
- Cost: Specify the cost associated with the reported advance, if applicable. You can use the currency of your choice to reflect the values appropriately depending on the context of the project.
- Description: Add additional details about progress, such as milestones achieved or activities completed. You can also attach files, videos, photos, or voice notes to supplement information and document progress more fully.
Problem
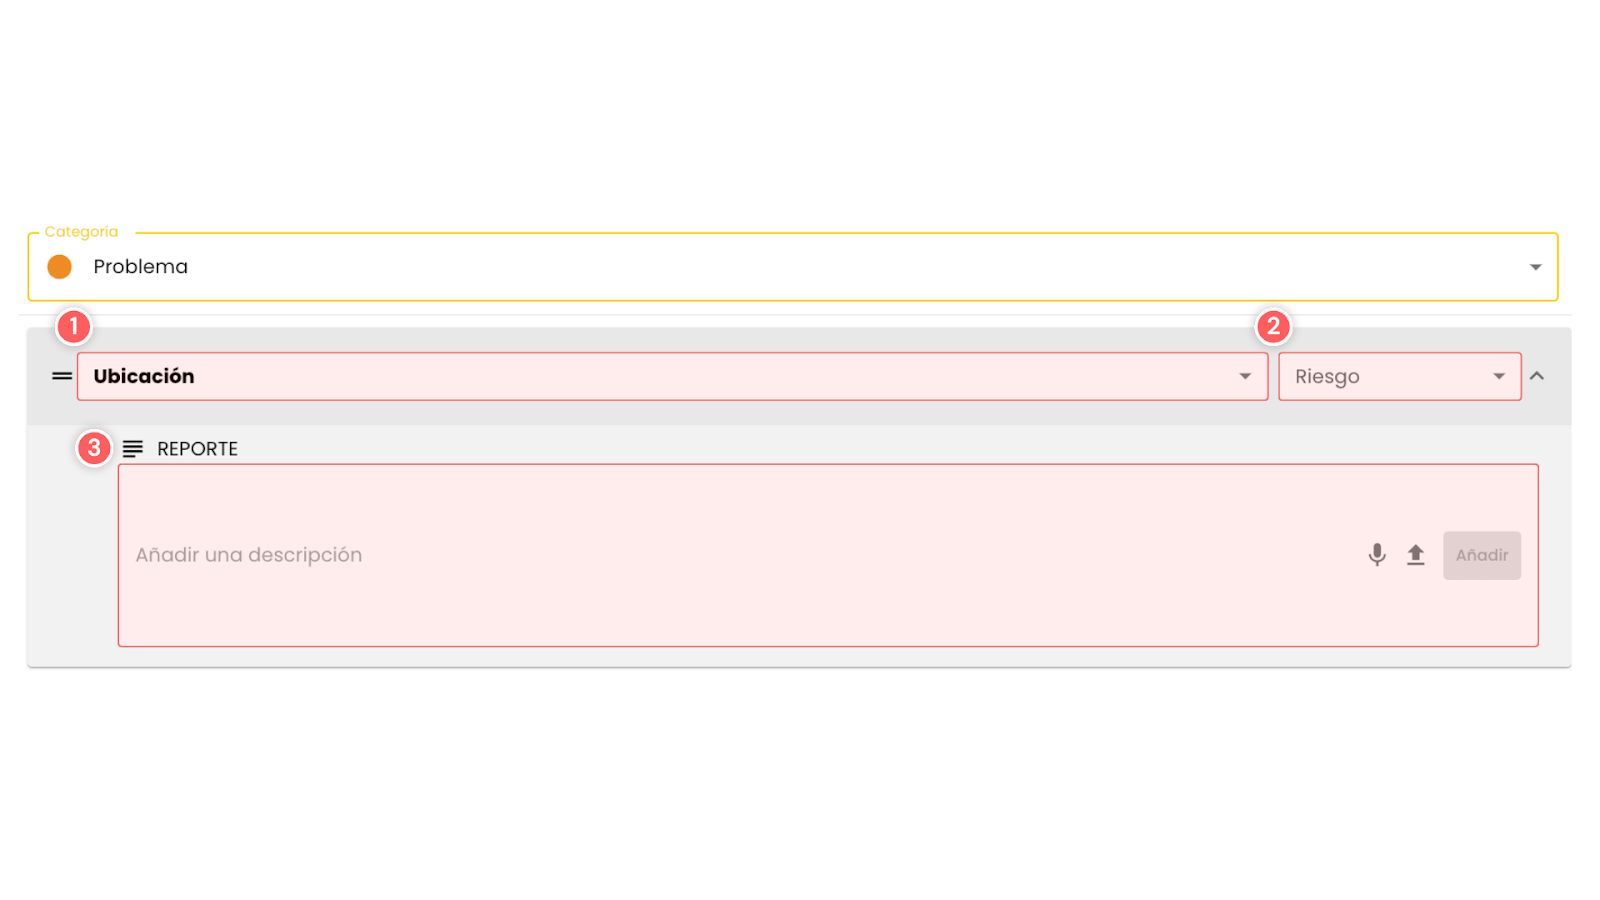
- Location: Select the location related to the identified problem.
- Risk: Indicate the level of risk associated with the problem (high, medium, or low). This helps to prioritize their care.
- Description: It details the problem, including relevant information such as the cause and possible solutions. Attach files, videos, photos, or voice notes to document the problem more fully.
Delay
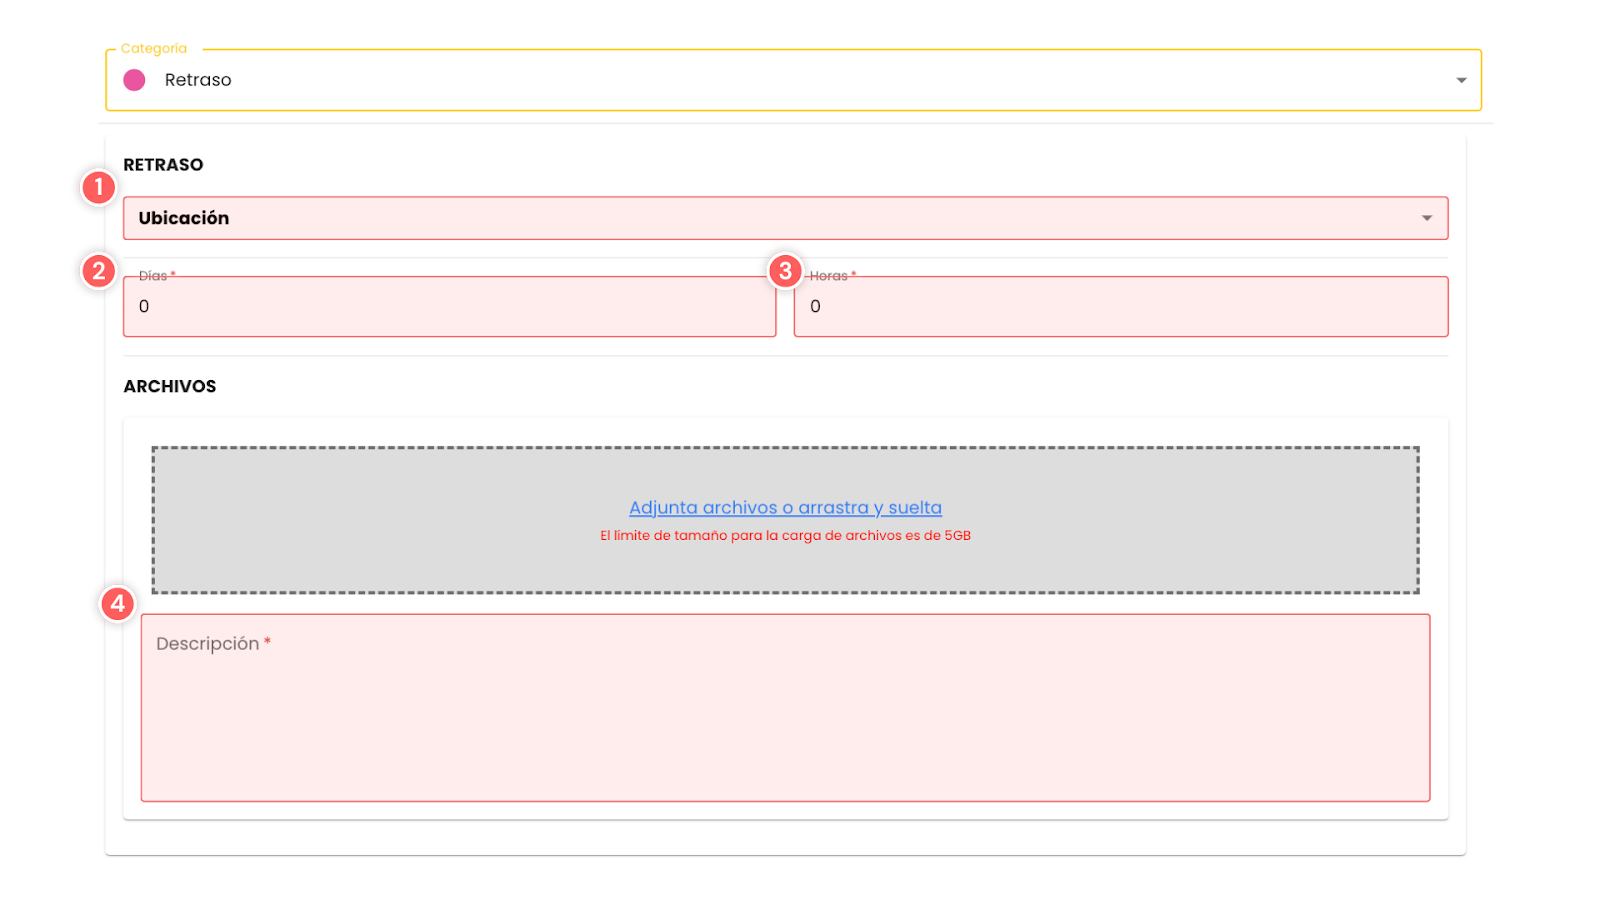
- Location: Specify the location related to the reported delay.
- Days: Enter the cumulative number of days of delay.
- Hours: If the delay is less than one day, record the corresponding times.
- Description: It provides details about the reasons for the delay and its impact on the schedule. You can include files, videos, photos, or voice notes to back up the information.
Workforce
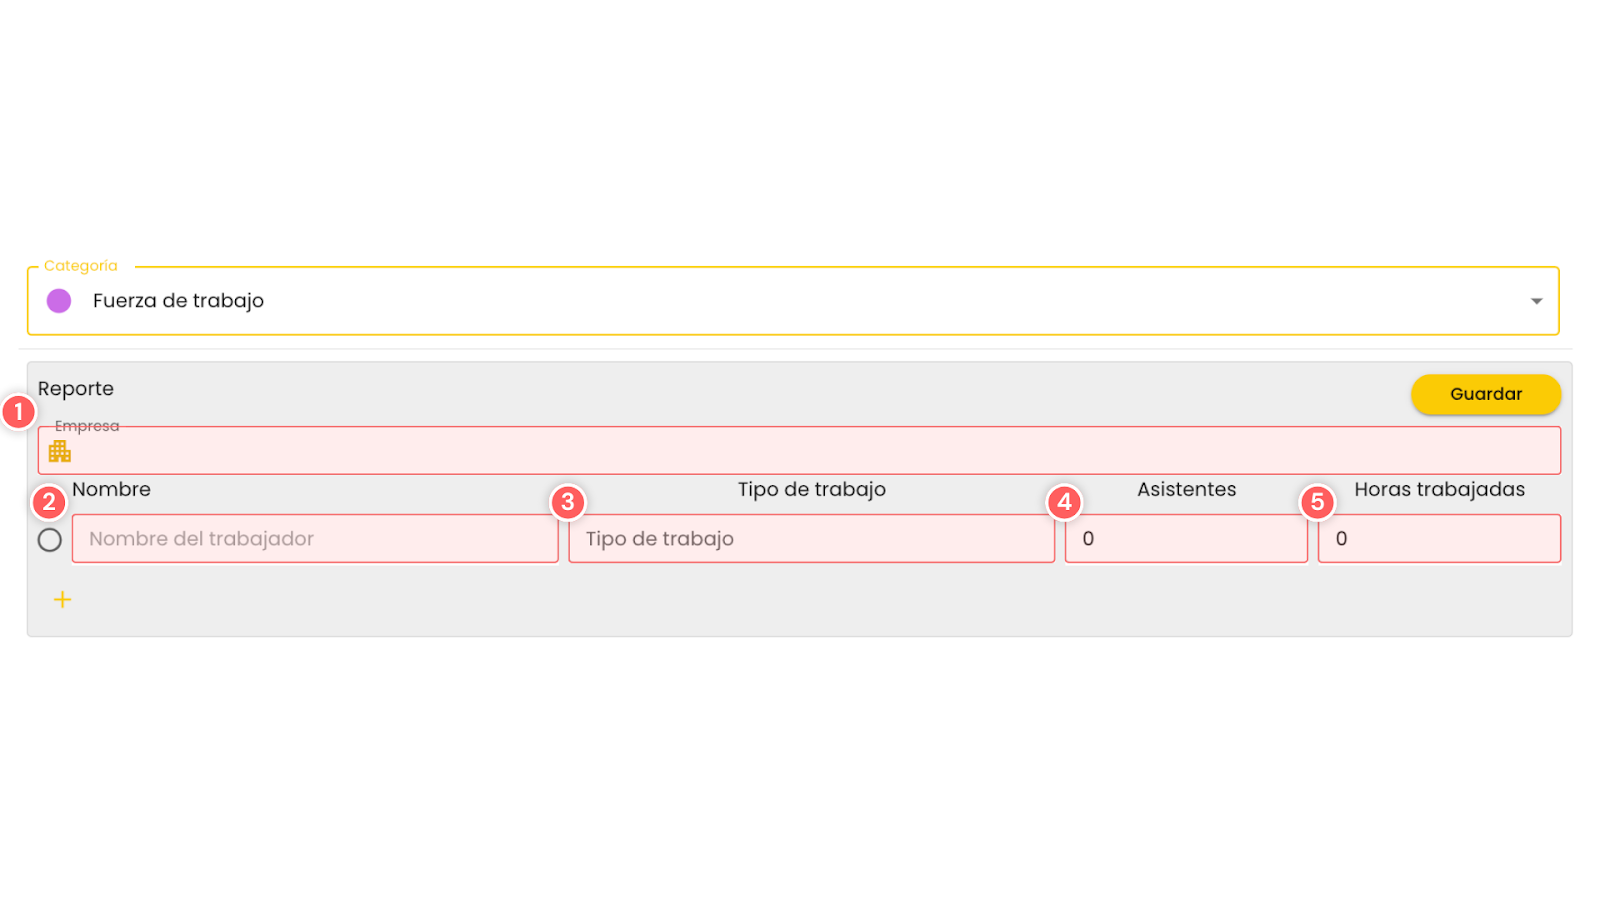
- Company: Record the name of the contractor company or personnel manager.
- Name: Indicate the name of the worker being reported. If you fill in this field, the field Attendees will automatically be marked as 0 and will not allow a larger number.
- Type of work: It specifies the work that the worker is doing, such as carpentry, masonry, etc.
- Attendees: Record the number of workers on site. If this field is greater than 0, you will not be able to enter a name in the field Name, since it represents several workers.
- Hours worked: Indicate the total number of hours worked by reported attendees.
- Once you have completed all the required fields for the selected report type, click the button ✅ Create, located in the upper right corner of the screen, to finish and save your report.

