


- In your Buildpeer account, go to the project overview and select the project you want to enter.
- In the left sidebar, click on the section 'Modules', and then click on the module 'Documents'.
- To begin the process, click on the ➕ Add which is located in the upper right corner. Then, click 'Add File'.

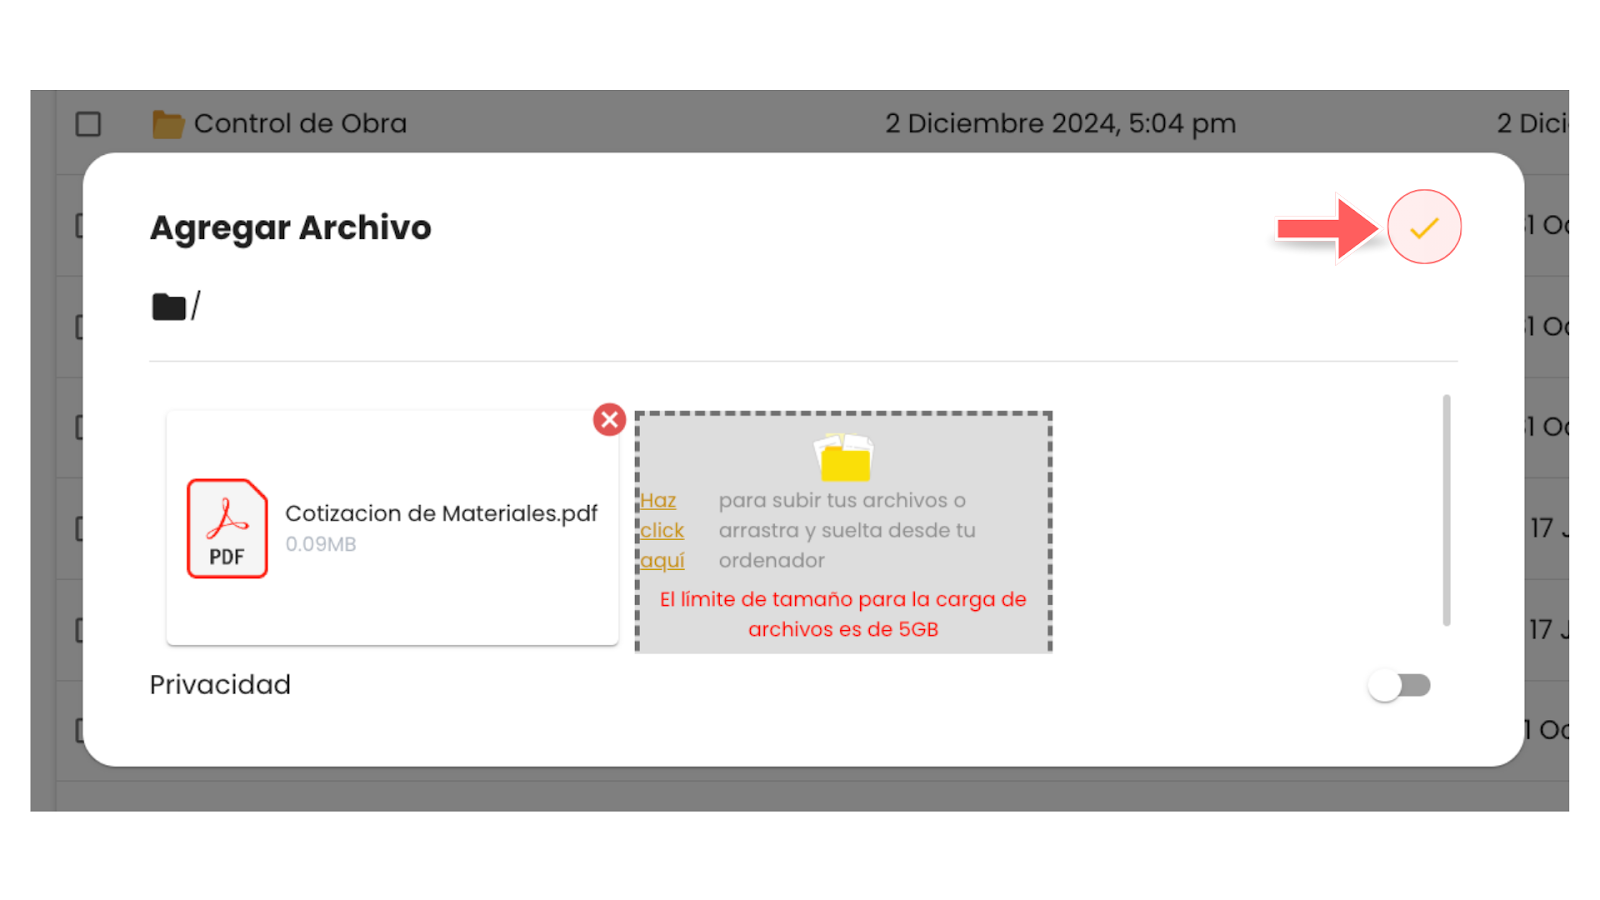
- A window will open where you can add or drag the documents you want to upload to Buildpeer.
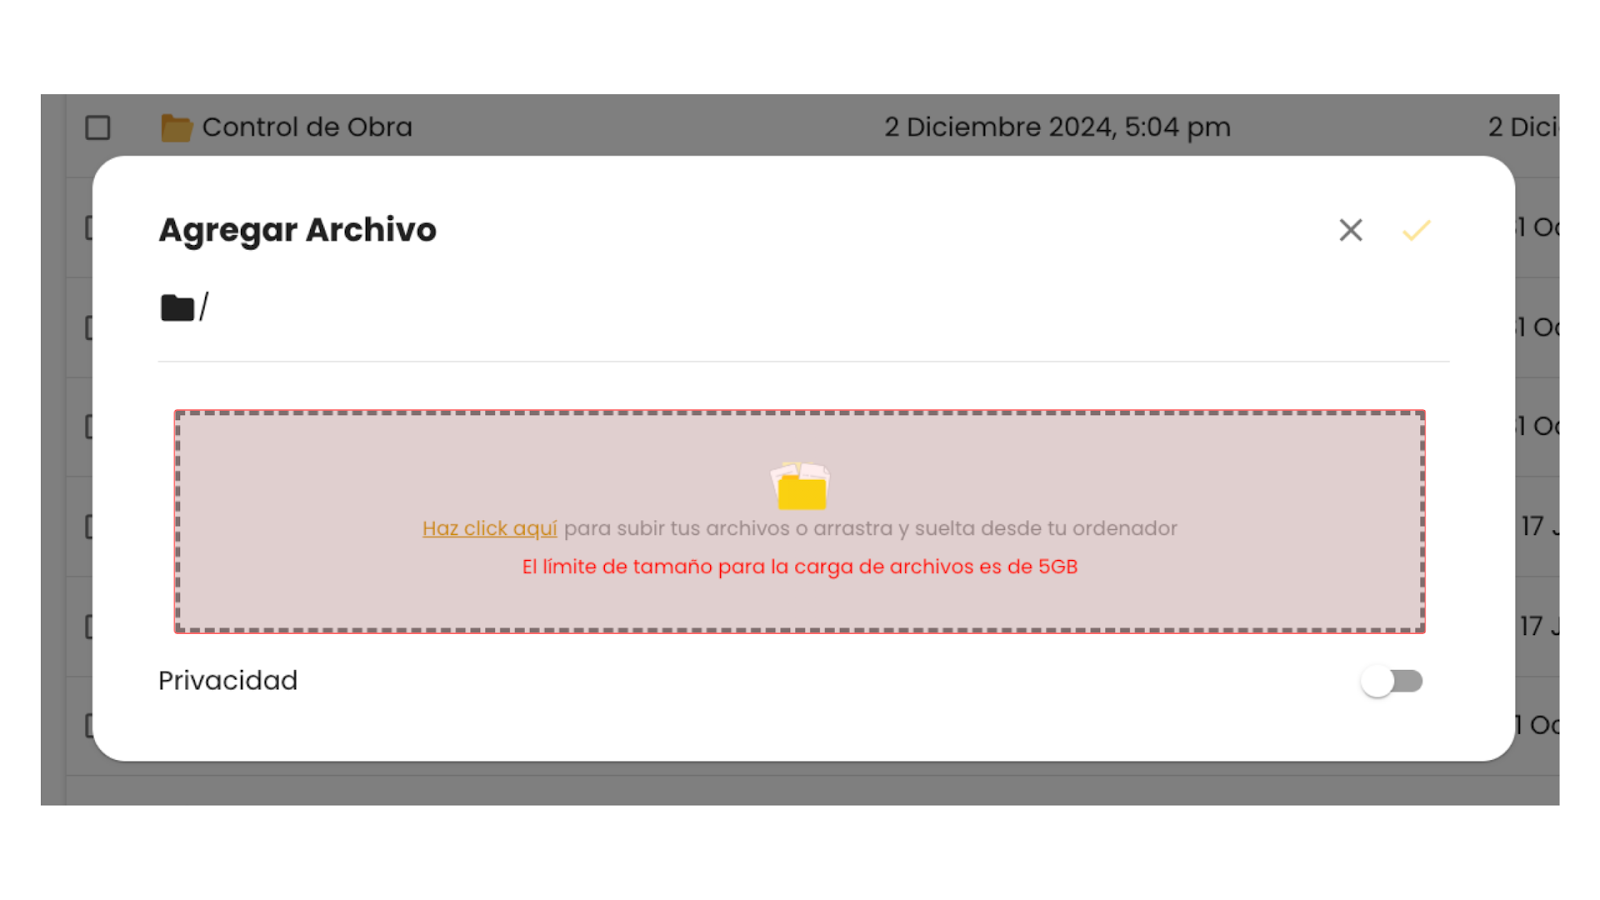
- Then, if you want, you can adjust the privacy of the file and select which members of your team to share it with. If you prefer the file to be public, leave the button disabled.

- To finish, be sure to click on the button 'Add' located in the upper right part of the window.
- You will now be able to see the documents you just added on the main screen of the module.

