


- In your Buildpeer account, go to the project overview and select the project you want to enter.
- In the left sidebar, click on the section 'Modules', and then click on the module 'Photos'.
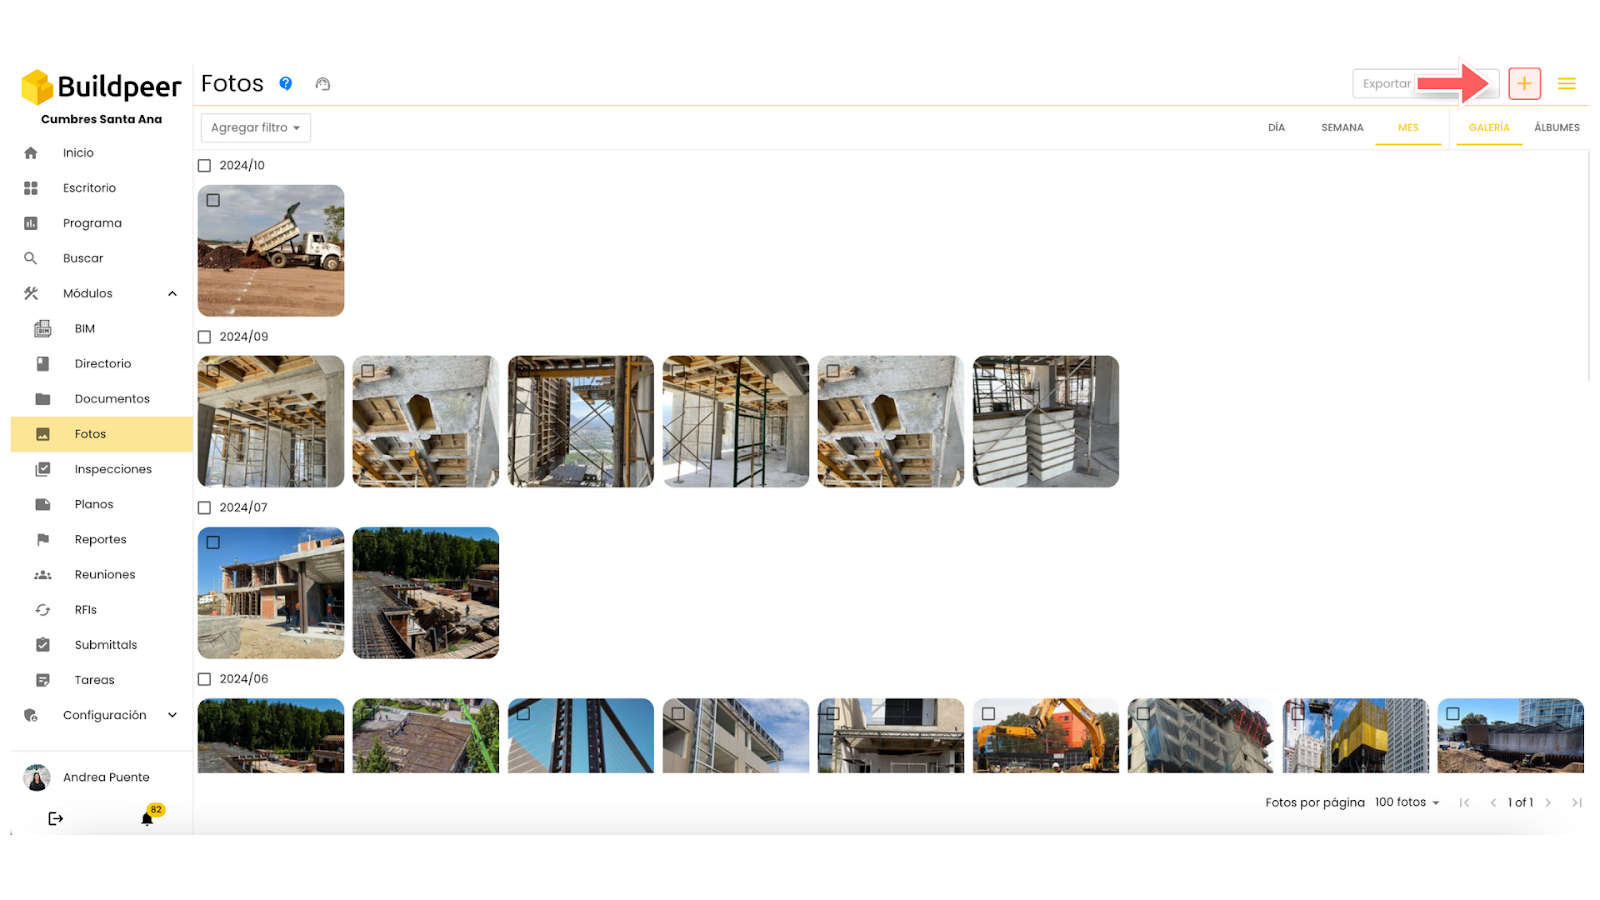
- To start, click on the button ➕ Add located in the upper right corner of the module's main screen.
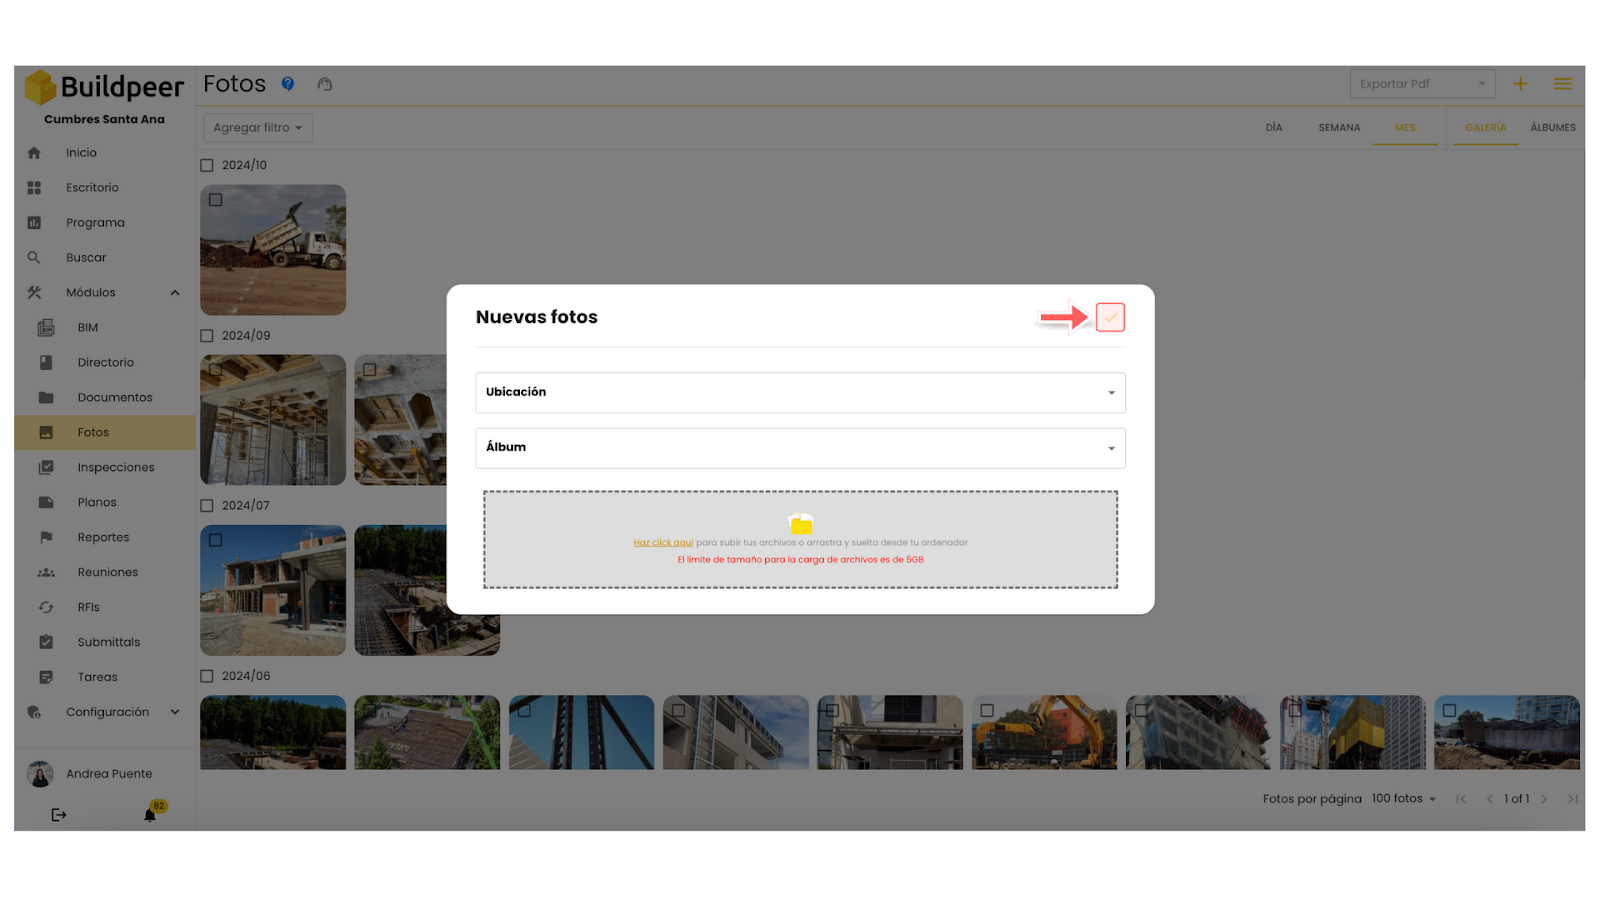
- A new screen will open for adding photos. Here you can drag the images you want to upload or click to open your device's browser and select the files. In addition, you can assign the location where the photos were taken and choose an album to store them. Both fields are optional.

- Once the photos are uploaded, click the ✅ button Add which is located in the upper right part of the window.
- Now your photos are ready to be viewed and will appear on the main screen of the module.

