


- In your Buildpeer account, go to the project overview and select the project you want to enter.
- In the left sidebar, click on the section 'Program'.
- Now, you have two options for uploading your building program to Buildpeer:
From an Excel template: You can import your existing work program using our Excel template. Learn more about how to use our Microsoft Excel template.Manual charging: You can enter the elements of your building program directly into Buildpeer manually.
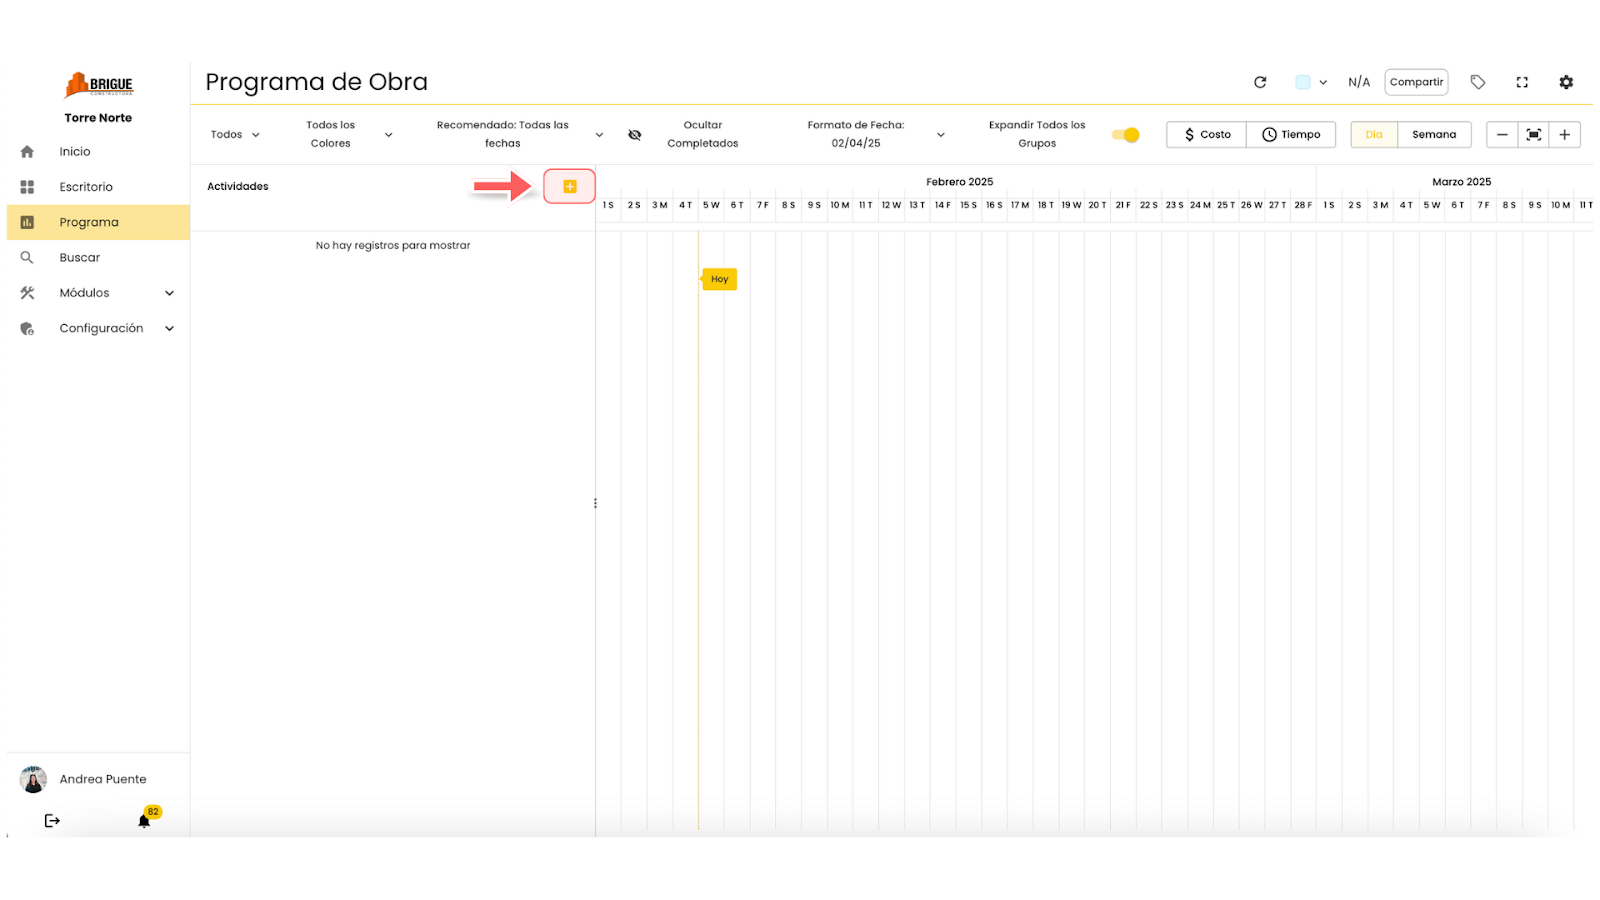
- To perform the manual process, click on the + Add which appears next to 'Activities'.
- A card will be displayed on which you can fill in the fields of 'Title' And 'Description' for the first group of your work program. The other fields on the card are not editable, as they will be automatically updated with the information of the activities you add within that group. Click 'Save'.

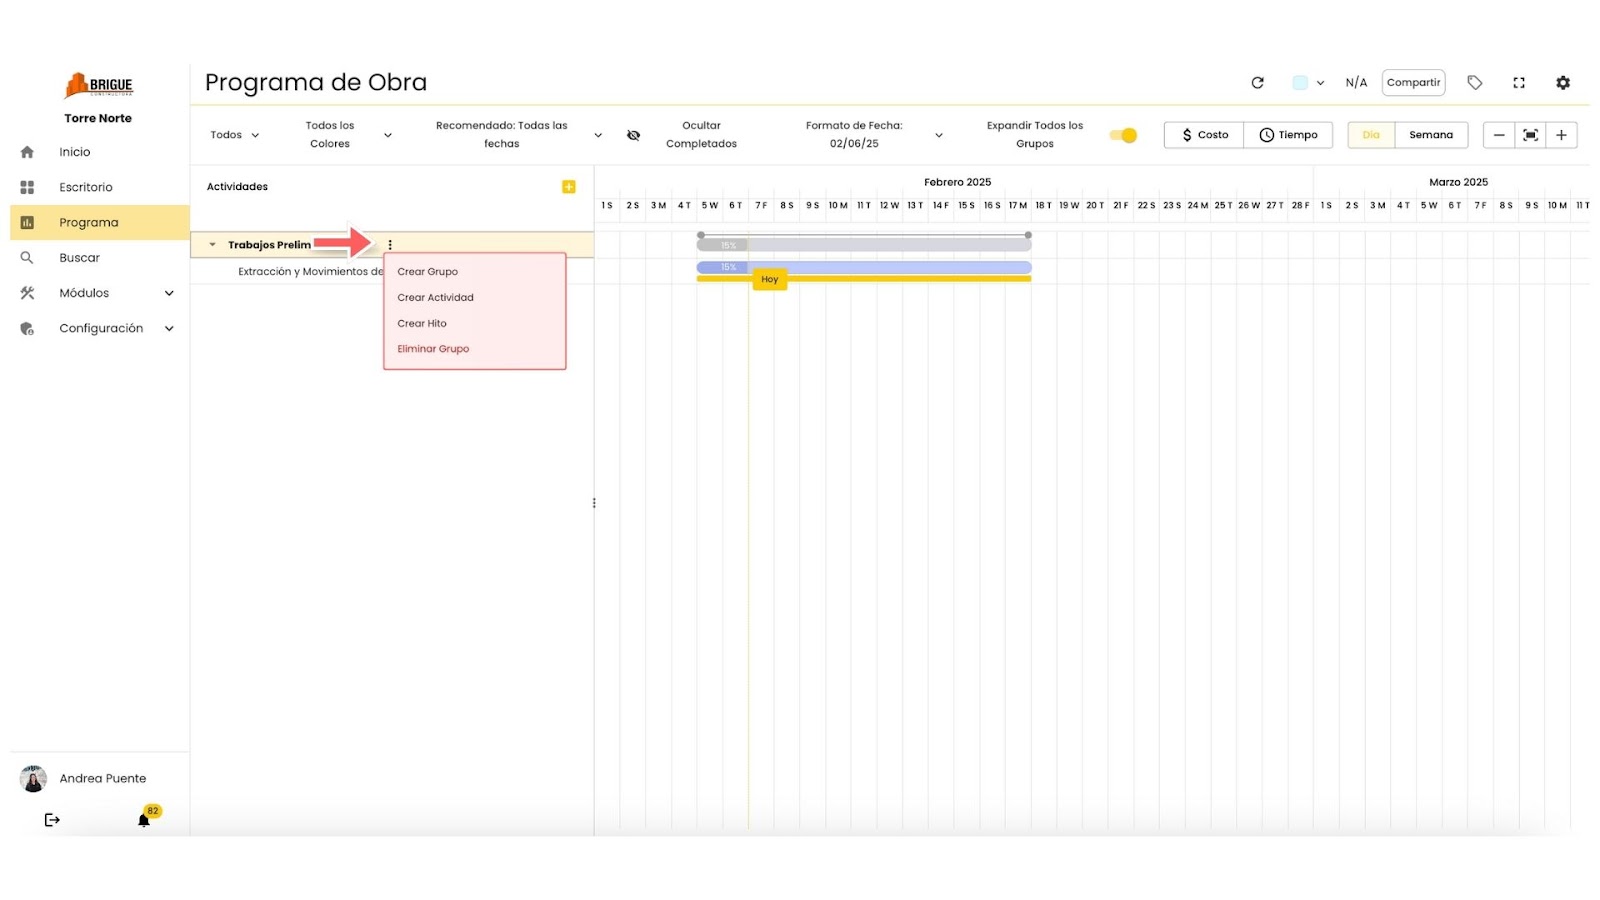
- You can now see the group you just created on the home screen. To add activities, milestones, or subgroups within that group, click on the three dots to the right of the group's name. From there, select the type of element you want to create, and a window will open where you can fill in the corresponding fields according to your choice. Let's continue the process by choosing to add an activity. Click on 'Create activity'.

- A card will open with the following fields so you can complete them:

- Title: Enter the name of the game or activity you want to record.
- Assigned: Select the managers assigned to this activity.
- Color: choose a color from our palette to visualize the activity in the Gantt chart of the work program.
- Scheduled times: Enter the scheduled start and end dates for the activity.
- Real times: record the actual start and end dates as the project progresses, allowing you to compare the scheduled times against the real ones.
- Programmed physical advancement: is the percentage or amount of work that is expected to have been completed at a specific time, as established in the initial project schedule. This value will be automatically calculated based on the scheduled dates of the activity and will be dynamically adjusted as the days progress.
Programmed physical progress by activity (%) = Days spent in the activityTotal duration of the activity x 100
- Real physical advancement: represents the current state of the work in terms of the percentage or amount of work actually completed. This progress is measured on the basis of the activities carried out in the field, and its comparison with the programmed physical progress makes it possible to identify possible delays or advances.
📌 Note: Neither the programmed nor the actual percentage of physical progress can exceed 100%.
- Progress in spending: refers to the amount of money that has actually been invested or spent up to a specific point in time. By comparing it with budgetary progress, it can be determined if you are exceeding or saving compared to the expected budget. This value will be automatically calculated based on the expenses you add to the expenses and budget section.
Progress in expenditure (%) = (ExpensesBudget) x 100
- Budgetary progress: is the allocated budget that is expected to have been used at any given time in the project, based on the financial plan and the established schedule.
📌 Note: The budgetary advance cannot exceed 100% because it is based on the approved budget for the project, while the increase in expenditure could exceed 100% if the actual costs of the project are greater than the original budget.
- Description: Add a detailed description of the activity.
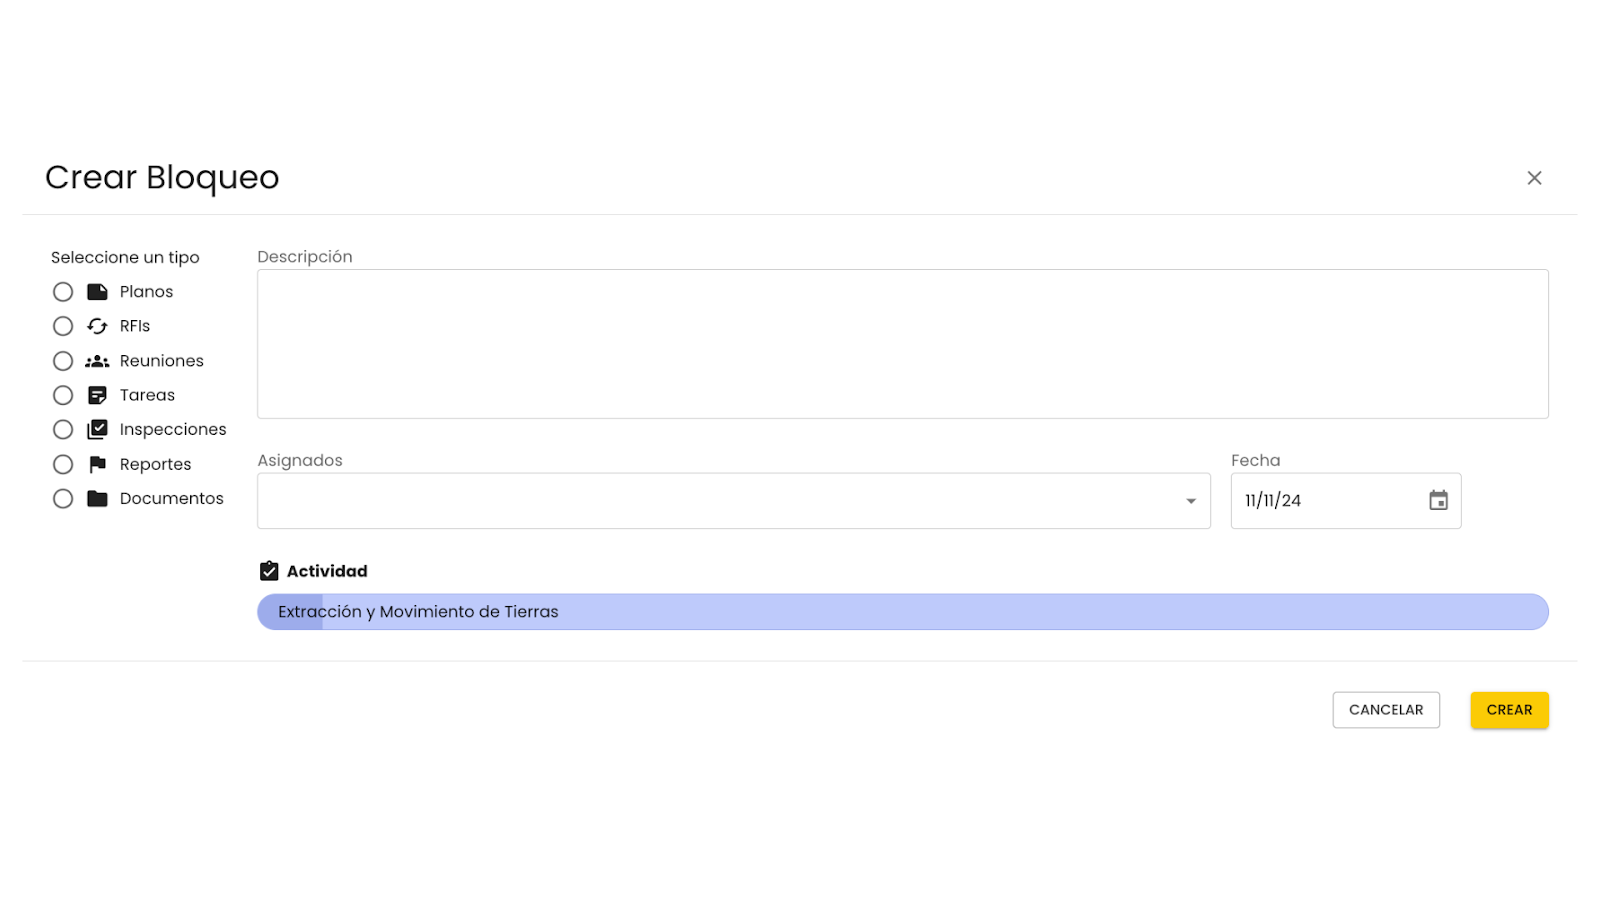
- Modules: connect elements from other modules to reference relevant information. By clicking on 'Add', you will see all the existing elements of the selected module and you can choose which one you want to link.
- Budget: Defines the budget for this activity. To the right of the field, you'll see the difference between the allocated budget and the recorded expenses, which will help you monitor your consumption.
- Expenses: records the expenses generated during the activity, including description, cost and related files. You can also add expense labels to classify them and make them easier to track, as well as activate or deactivate the impact button to indicate if an expense affects the project budget. You can add multiple records to detail all the expenses associated with the activity.
- After loading all the information inside the card, click 'Save'.

- You can now see the activity you just created on the home screen. Click on the activity again to open your card. You will notice that the following fields have been activated, ready to be completed:
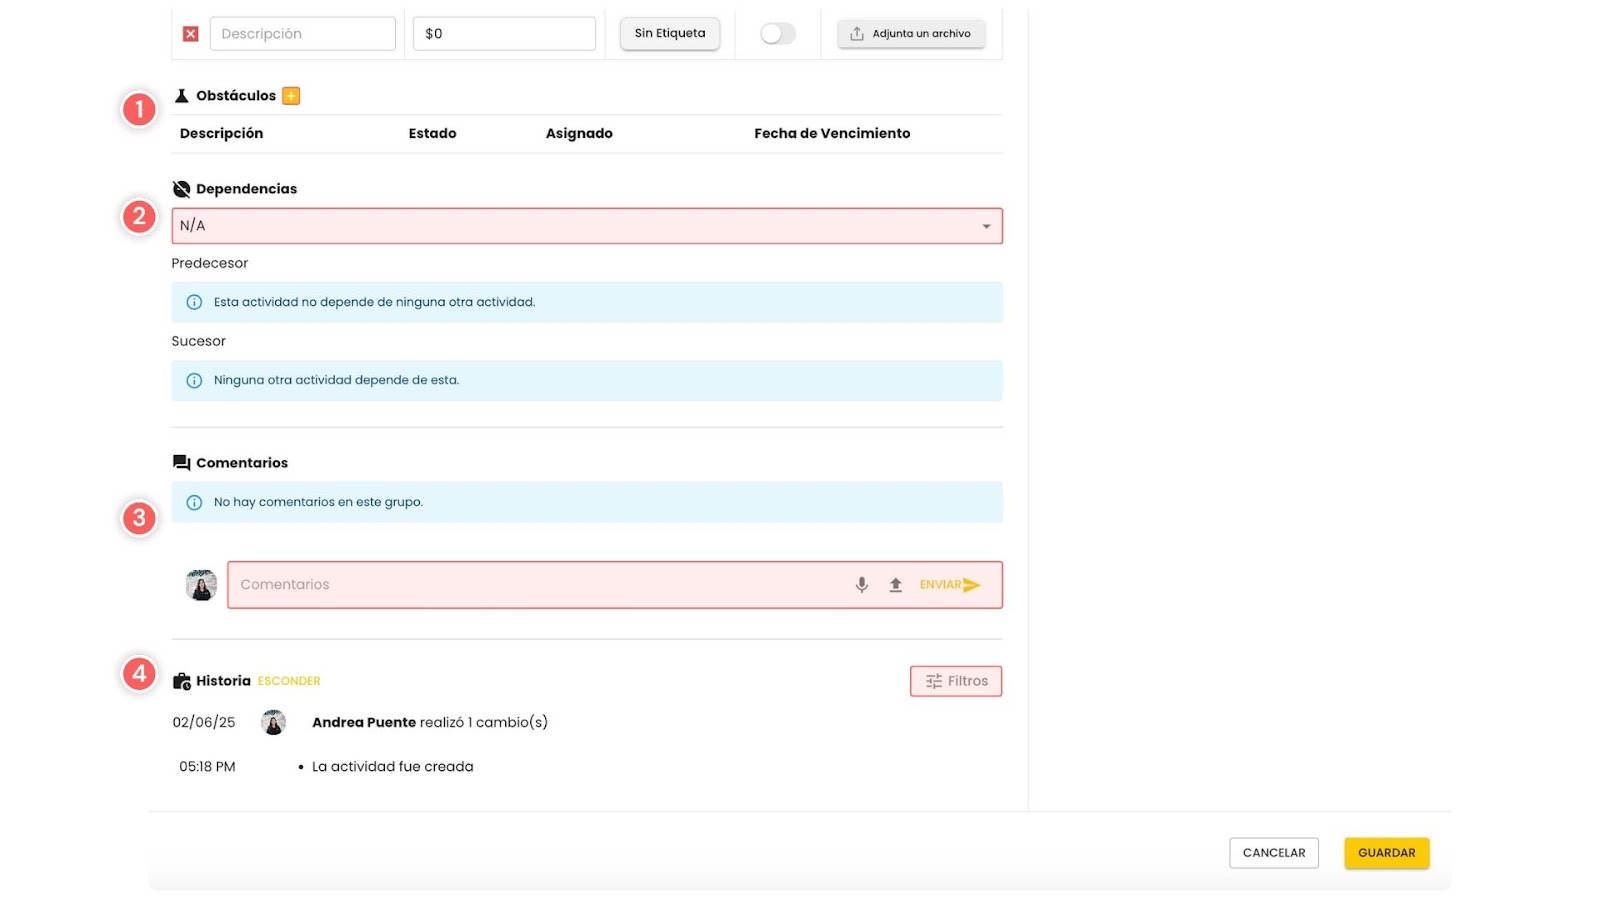
- Obstacles: describe any problem or inconvenience that is affecting or may affect the progress of the activity. This allows you to keep track of possible impediments and to anticipate them.
- Dependencies: in this field, you can add the predecessor activities, that is, those that must be completed before this activity can begin. This makes it easier to plan and track the workflow.
- Comments: add comments, updates or notes about the activity. This space allows for clear and documented communication between team members involved in the activity.
- Story: review the history of changes and updates that the activity has had, including modifications in times, assignments and any relevant adjustments. You can filter the changes to see only the information you need.
- Once you've filled in all the information on the card, click 'Save'.
- Repeat the above process for all the activities and groups in your work program. Let's continue the process by choosing to add a milestone. Click on the three dots to the right of the group name and choose 'Create Milestone'.
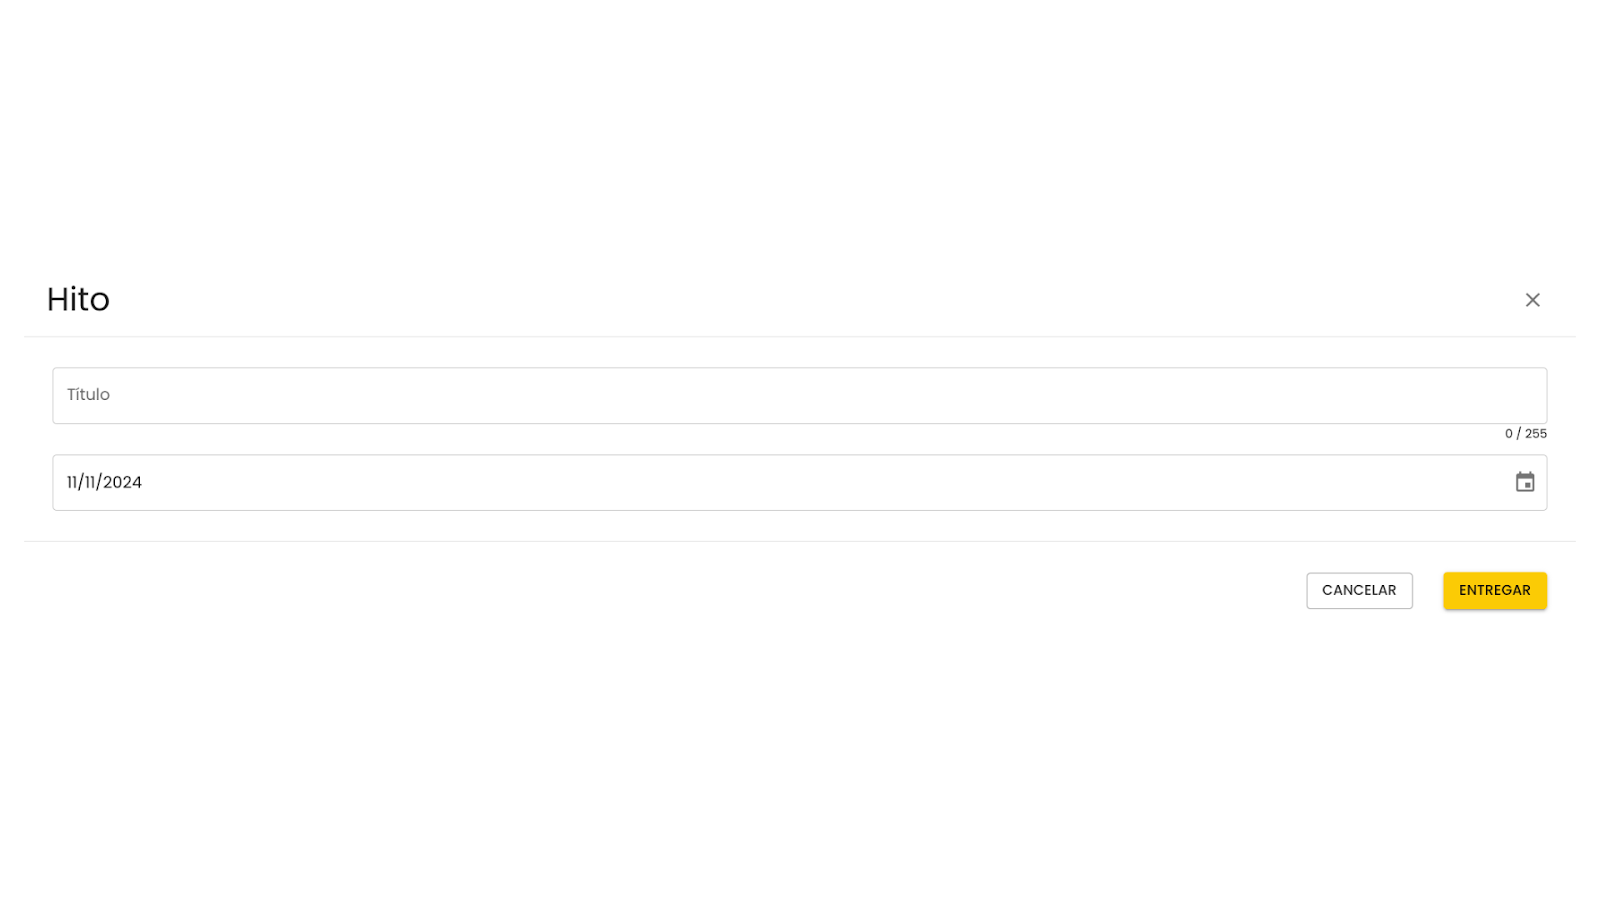
- A card will appear where you can fill in the fields of 'Title' And 'Date' to define the first milestone of your work program. Once you have filled in the fields, click 'Deliver'.
With this guide, you can now continue to complete your work program directly in Buildpeer, adding the groups, activities and milestones you need to structure and manage your project effectively.

